Honda Element Owners Club banner

An Engineer's Sleeping Shelf

48K views 32 replies 15 participants last post by  bluedoo  
#1 · (Edited)
Background:
I purchased my element with the sole purpose of the woman and I running away from adult life. The first big project was the 6-sp swap. With that out of the way, and knowing that my plan does include potentially sleeping in the back for periods of time (which is why I chose an E), I reviewed the existing designs in the sticky, and thought I’d do my own. I began by prioritizing my functional requirements. I wanted my shelf to be:

Comfortable (Full length mattress for 2 ppl)
Modular (ease of installation)
Dynamic (ability to change the configuration)
Lightweight (don’t need to explain this) EDIT: Final weight is less than one rear seat...
Reversible (no permanent mods to the car)
Stealth (no open hatch/tailgate, quick setup)

All existing designs (minus one) had one thing in common that I disagreed with: lots of floor supports. That is to say, some means of support that interfaces with the floorpan of the car. I want my shelf to float so the space underneath is universal storage. I would use the rear seat mount holes (custom fab mounts), the rear bins, and 2 legs (when extended) up at the front seats.

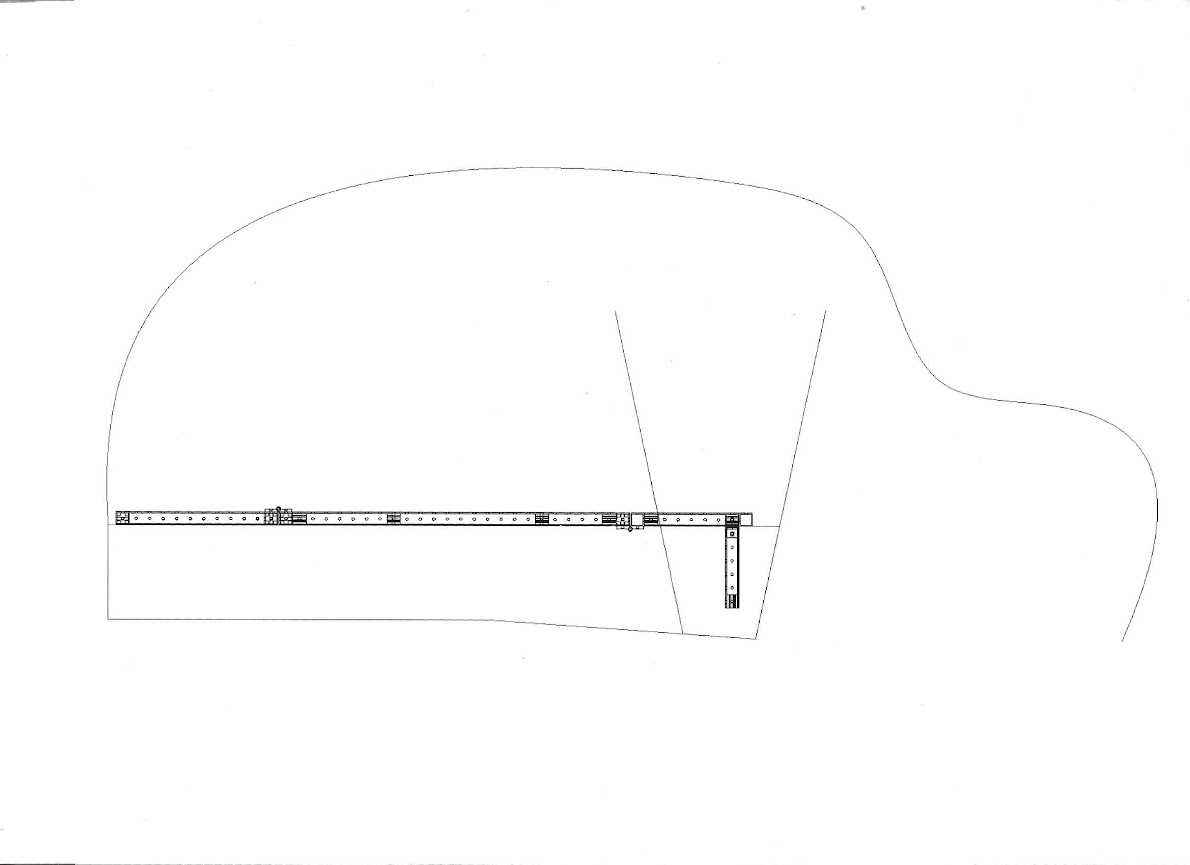
With that in mind (and the lightweight design), I drafted up a plan utilizing 80/20 HT series profiles:
Image

Image


Cont’d…
 
#2 · (Edited)
The plan was to have the front 13” fold down for driving, and up for sleeping. The legs would interface with the metal pan of the car (for strength) and not the ‘carpet’ or plastic molding. Final top dimensions are 76”x54”. The rear section is cut for bin access and hinges up at the bins for floor access. The two center sections butterfly up for storage access. All hinges are lift-off style, so the sections just slip together without bolts.

For the top I felt that plywood was too heavy (no offense) so an internet search for corriboard led me to lightweight hurricane panels (Hurriguard®). They are a corrugated 3 layer polycarbonate (Lexan) 8’x4’ sheet that is about 0.65 thick and can withstand crazy impacts. The whole 8x4 panel weighed like 5 lbs. I would attach the panel to the structure with hook and loop tape because it is light and can be lifted off at any time.

Once I had the plan down, I prototyped with strips of cardboard. The design of the sections is such that I would utilize exactly ten 48” pieces of HT (with a few cuts) with only two 3” sections of scrap:
Image


And purchased the necessary hardware:
Image
 
#4 ·
Man awesome bed build! Just curious what you think the weight limit it can take with no center leg support? Any flexing! Looks awesome and love all your design requirements. No legs, light weight and not perminate!
Nice work there
 
#5 · (Edited)
Thanks!

Man awesome bed build! Just curious what you think the weight limit it can take with no center leg support? Any flexing!...
My calculations show that me and the woman will deflect that center beam ~0.171" downward and maintain a 52.4% safety margin!

Seriously though, this could go up to about 500# before you might think about breaking it. Aluminum extrusions are amazing. That beam weighs like 3.2# and can hold up to 500#...

-Karl
 
#6 ·
KSE took the words out of my !mouth. What was the breakdown for each material? Will you provide the exact measurements, schematics, etc for duplication?

Thank you,
 
#10 · (Edited)
I've had it installed since ~June. We've done 4-5 trips since and it has worked wonderfully. I did make a few minor changes. I used to have the panels bolted to the aluminum, but the hook and loop holds plenty well on its own. I also had to add the orange duct tape to the edges of the panel because they are seriously sharp. The next step is working on a rope system that will lower/raise the legs while the user sits atop.

-Karl
 
#12 ·
From another Pittsburgh engineer (I live in Baltimore now), I say, nice work.

So did you get a custom cut mattress for this? What do you do with the part of the mattress that is unsupported when you fold the front part down for driving? Does it just fold down also? Do you roll it back?

Also, I like your deflection values, but for stress calcs did you account for...ahem...fatigue strength? Know what I mean....winkwink? :razz:
 
#14 ·
...So did you get a custom cut mattress for this? What do you do with the part of the mattress that is unsupported when you fold the front part down for driving? Does it just fold down also? Do you roll it back?

Also, I like your deflection values, but for stress calcs did you account for...ahem...fatigue strength? Know what I mean....winkwink? :razz:
The mattress is a 'full' size 4" thick foam one from Ikea. The only cuts made were to allow access to the rear bins by the tailgate (two 4"x16" off the back corners), and to round it slightly to match the tailgate contour. We added a 1.5" thick cooling memory foam pad with matching cuts for comfort. And check out the full gallery linked in my original posts and a pic will show how the mattress folds down at the front. It's not the prettiest, but it works.

As for fatigue, I have outlined a rigorous test program!

-Karl
 
#17 ·
...How did you do the lock in feet?
A 12mm deep socket resting on the rear outer bolt of the front seat mounting bracket (plastic had to be rounded out a bit). Then I put a 3/8" square headed bolt through a spacer into the bottom of the leg. The square acts just like a ratchet head and fits into the top of the socket. Load path is bomb proof, and when the legs are up, you just see a socket flush with the floor.

Leg up

Leg Down
 
#24 ·
Update:

Eight months now living in the car, and the shelf is doing great!!

No cracks, loose bolts, broken parts, nothing. The girlfriend and I are on a US National Park tour for 2016/2017, and have been traveling the country with this build (36k so far).

Image


I wanted to thank EOC for many of the upgrade ideas I did to the car, and Fifth Element Camping for social media props.

I have a blog of some of the other details of the build if anyone is interested!

http://starlkrenbic.blogspot.com/2016/10/the-ride-ele.html

-Karl
 
#25 · (Edited by Moderator)
I recently finished doing this build and am writing an update for the 2007+ models.

Image

Image


Unfortunately, the leg system fitting onto the bolts in the seat rails does not work on the 2007 and newer models due to the redesign of the seat. My way around this was using some of my scrap to build a removable leg support to sit on top of the center console (Fig. 1 & 2).

Fig. 1

Image

Fig. 2

I have the cooler center console the support leg didn't have to be that large. If you plan on going this route with a newer model E without the cooler console, it will need to be longer. Also notice that the front end of the frame folds upwards instead of downwards (Fig. 3 & 4). This is due to the height of the cooler console not allowing it to fold so I had to go the opposite way.

Image

Fig. 3

Image

Fig. 4

On the front panel I cut it at a 45 degree angle in order to fold it back further to get a couple more inches of leg room. I would have done the same on the center panels but unfortunately I had cut them slightly too short so was unable to take any more off without compromising the support.

I utilized the scrap .125" thick flat stock that I got from Home Depot for the back plate of the brackets to make the side supports for the rear (Fig. 5). Doubling up the pieces flattened out the frame perfectly.

Image

Fig. 5

Figure 6 shows the changes to the original dimensions that I made for the build. I increased the length of the rear supports as it helped center them more evenly on the rear bins. This did require drilling new holes to mount it to the middle frame. The side lengths of the front portion were decreased to 6" in order to accommodate for the inability of the front seats to go forward.


Fig. 6

If I could go back and do it again I would have shortened the middle frame by 3-4 inches and increased the front frame by that amount in order to allow for the front seats to go all of the way back.

Luckily, there is a plastic manufacturer local to my town and I was able to pick up a 5-wall polycarbonate sheet to use for the platform. Hurriguard is not sold at Home Depot anymore, but a 3-wall polycarbonate sheet is still available (it will flex a bit more than the 5-wall).

This was a really fun project and was my first major modification to the Element. Hats off to Karl for designing this and executing it flawlessly.
 
#29 ·
Hot Karl this is an amazing setup! I think I've found the one for me, it definitely looks like something I can handle making. And it gives you so much space! I'll have to work in the adjustments Crawdude has, since my Element is a 2010, but this thing is perfect! I've checked out your blog too, 8 months of a trip is amazing. I'm planning a trip through National parks up the West Coast into Canada and then Alaska, then come back East of the Rockies...going for 4 months or so. So 8 months sounds amazing and crazy :D Just save up a lot before the trip or are you able to work on the go?? Cuz that sounds great.
Thanks for the ideas!
 
#32 ·
I made one of these for my 04. Works great. Super solid. I initially used the plastic sheeting but living in it full time aand having woman sleep over a few times broke the hurricane board. :ROFLMAO: I upgrades to IKEA wood slats instead of the plastic sheeting so that the mattress can breath. Im going back to seats so imy frame is for sale if anyone wants one. Located Near SF.