Greetings!
I finally took the plunge after looking at Elements on and off for years. I'm in the Northeast region, and I was so afraid of rusty samples and rising prices that I had given up looking.
Then, a friend who is a dealer 2000 miles away reached out about a rust-free Texas car, and I ultimately had him ship the car to me. It has 177k on the odometer, and has had 3 previous owners:
![Image]()
It has some blemishes, like a rip in the driver's seat, and a hole on the front bumper cover. I hope to take care of those eventually.
It arrived at my doorstep just yesterday.
The first order of business was adding in the keyless remote module under the dash, followed by taking care of the sagging hatch with the slightly longer Strongarm 4351 struts:
![Image]()
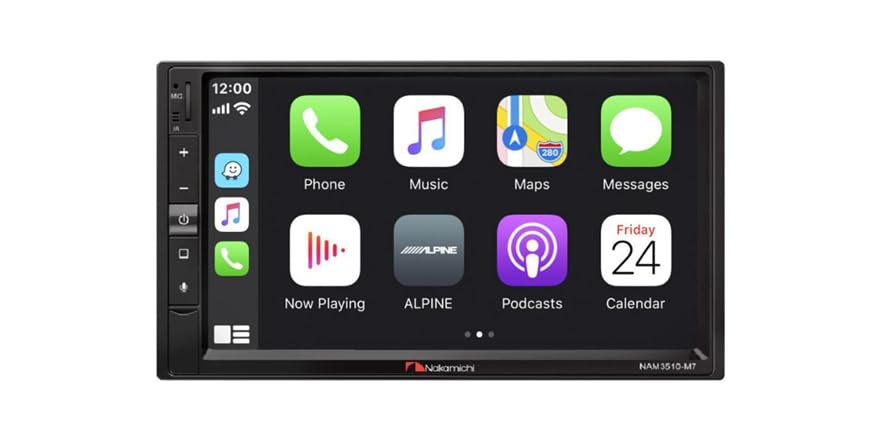
Then, I got rid of the Single-DIN factory AM/FM CD Player with a $50 Woot special, the Nakamichi NAM3510-M7 double-din head unit. By the time I finished the install, I ran out of daylight, so I only have this picture to share for now:
![Image]()
I used the American International HON-K834 stereo install kit.
I have some additional plans for it, like 18-inch Acura RDX wheels. Stay tuned!
I finally took the plunge after looking at Elements on and off for years. I'm in the Northeast region, and I was so afraid of rusty samples and rising prices that I had given up looking.
Then, a friend who is a dealer 2000 miles away reached out about a rust-free Texas car, and I ultimately had him ship the car to me. It has 177k on the odometer, and has had 3 previous owners:
It has some blemishes, like a rip in the driver's seat, and a hole on the front bumper cover. I hope to take care of those eventually.
It arrived at my doorstep just yesterday.
The first order of business was adding in the keyless remote module under the dash, followed by taking care of the sagging hatch with the slightly longer Strongarm 4351 struts:
Then, I got rid of the Single-DIN factory AM/FM CD Player with a $50 Woot special, the Nakamichi NAM3510-M7 double-din head unit. By the time I finished the install, I ran out of daylight, so I only have this picture to share for now:
I used the American International HON-K834 stereo install kit.
I have some additional plans for it, like 18-inch Acura RDX wheels. Stay tuned!