The welder who did my rails back in '04 is out of business now, but I have also used Govel Welding in Colonie and was satisfied with their work. They don't seem to have a Web site, but here's their
Facebook page.
I wouldn't tell the welder that the rails are for a car seat; he could be spooked by the potential liability. He'll likely know what they are when he sees 'em, but it's nice to have plausible deniability. A mechanic (if you need to use one) might have the same problem, so in theory you could use one mechanic to remove the seat and separate the rails from the seat base, and a different mechanic to put everything back together. "Oh yes, those seat rails are just as they came from Honda!"
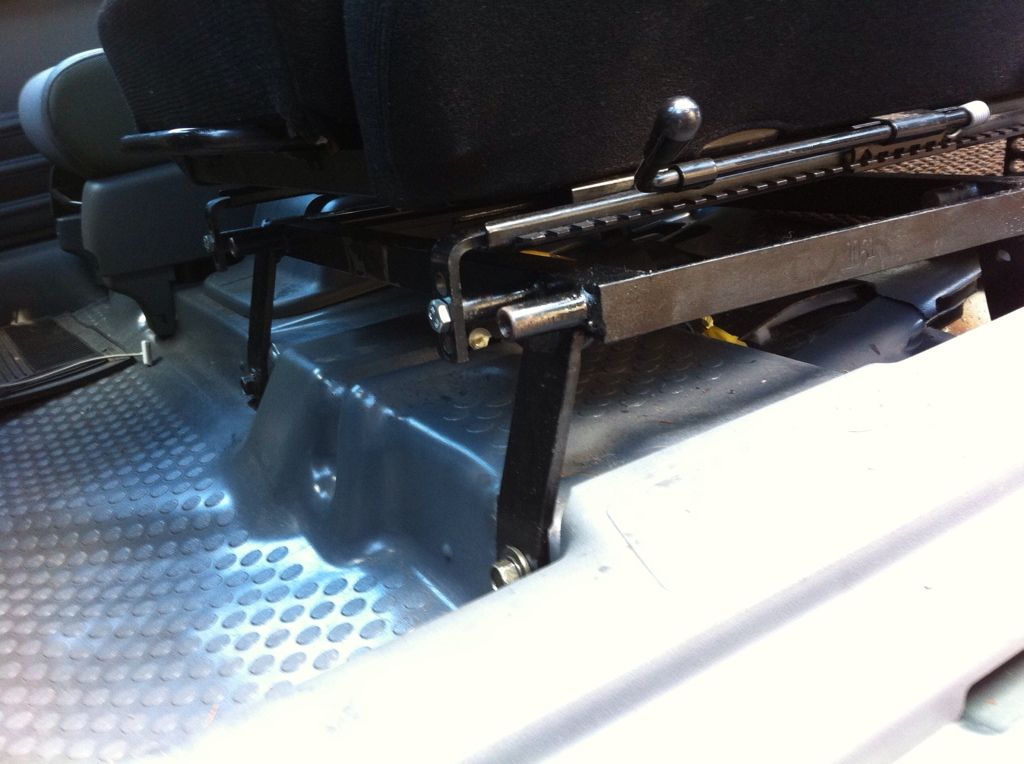
Measure and record the unmodified rails' dimensions, particularly the distance between the front and rear brackets, so they're sure to be welded back in the right spots. Note well the orientation of the front brackets—they look "backward," and need to stay that way. It would help to give the welder full-scale drawings of what you want. If the welder cuts the brackets and support tube from one rail and uses the other, untouched rail as a model, it should be straightforward.
The new square channel (the method I'm recommending, not the way I did it) will need to be a few inches longer than the tracks; 3" to 4" should be plenty.
Finally, you will need to disconnect and reconnect an airbag connector under the seat, so follow the airbag safety protocols in the Honda service manual to the letter.
When I did this mod, I bought a new seat base just in case I messed up the original tracks, but ended up not needing it. Whether you choose to invest a couple of hundred bucks in an emergency backup depends on your level of confidence in tackling this job.
Good luck, take pictures, and let us know how it works out. I'd love to see someone improve on what I did!
P.S.: If you have a rocking seat, this will be the time to replace the bushings.