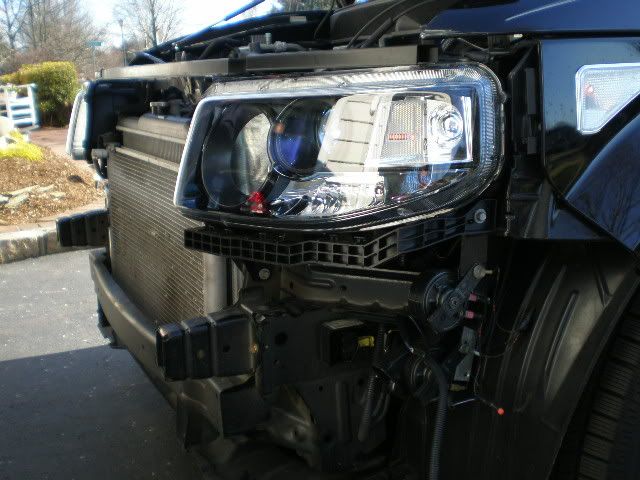
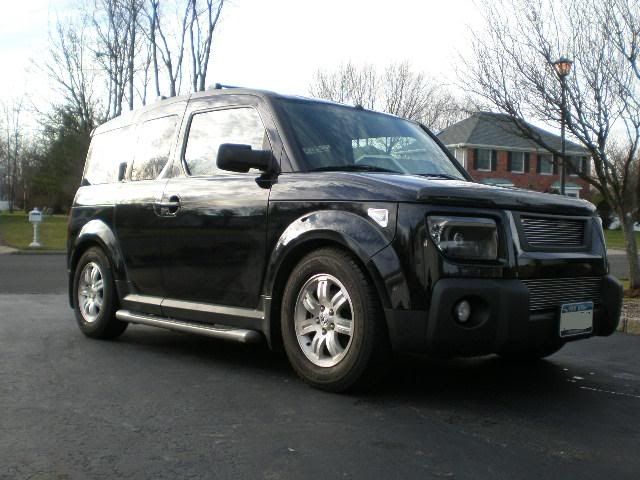
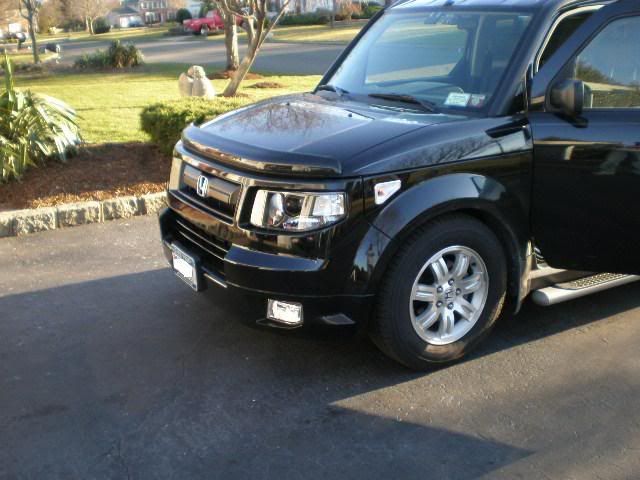
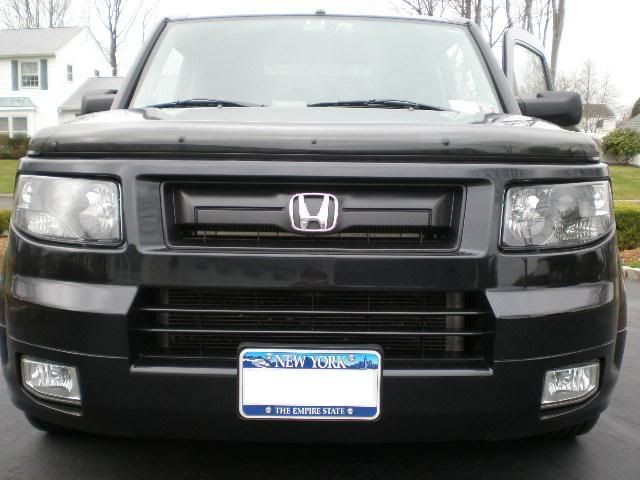
A full DIY on my progress of converting my front end to an SC model. This thread will cover every aspect including parts, optional modifications, wiring modifications, removal of old pieces, and installation of new pieces. Pictures are supplied to aid the text, but do not cover the conversion in full. The text will give you a full description of what you will need and other notes that relate to the section you are reading. I hope this helps anyone who is considering doing this modification in the future. Being a fully experienced Element-DIY'er, I can say this was not the hardest thing I have ever done, but with a year of experience ripping apart my E on numerous occasions it may just seem easier. Keep in mind as well that your local body shop or dealership can aid you with removal/installation of the pieces including assembly of the bumper pieces and fog lights if you would rather have a professional do it. This thread will assume that the reader is doing this completely DIY (except for a professional paint job for the bumper) and should answer any questions which you may have.
TO
Best of luck to those of you who decide to pull the trigger on this modification. For any questions that were not answered in the thread or just general help relating to anything involving the conversion, turn signal, OEM foglight bypass, wiring harness, feel free to PM me and I will get back to you a.s.a.p.
Special thanks to Accord Driver who pioneered the cleared SC headlight modification, BH241 who inspired and gave me the basis for my DRL idea, and most of all: to those who did the SC conversion before me. No thanks to you @#$%^& people I spent more money!! Lol, seriously though - I wouldn't have done it unless I could see that it was possible. You were braver than me going in blind and I respect that very much. Now, for the rest of you - here's a no-worry all-questions-answered guide to the SC front-end conversion.
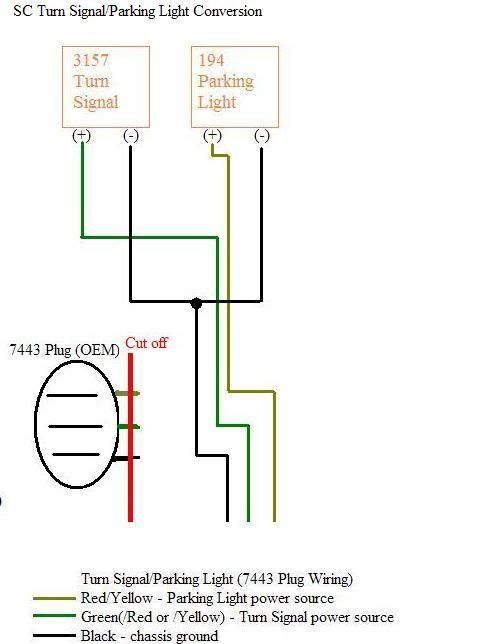
- Please refer to the "OEM Foglight Bypass" thread for more information manipulating an 03-06 fog light harness to produce parking light activated fog lights.
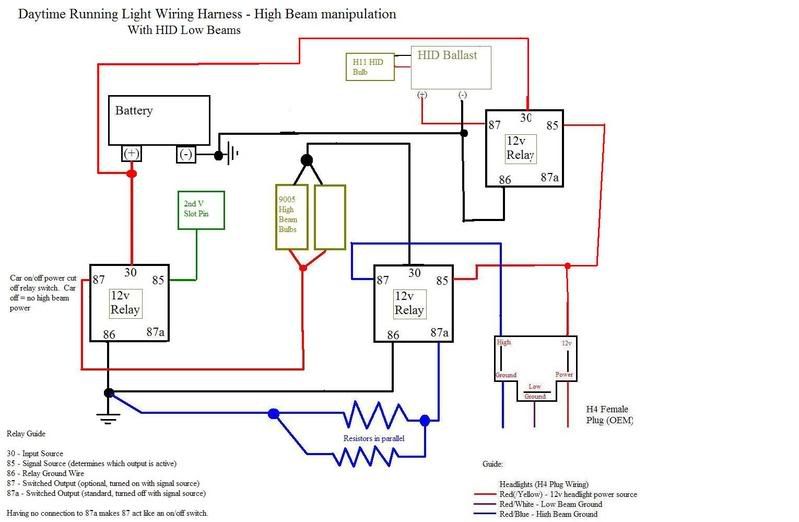
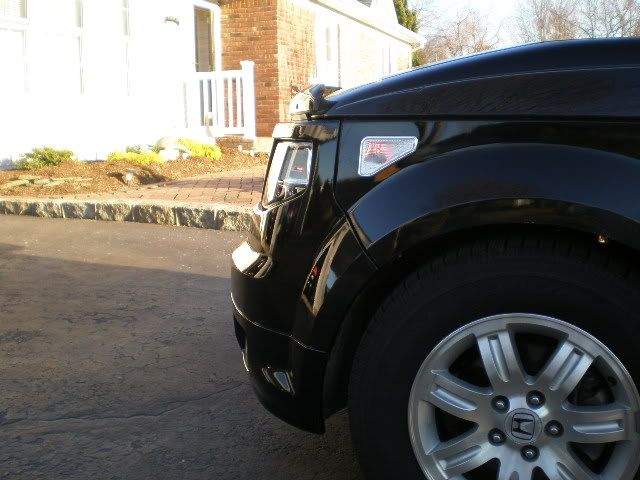
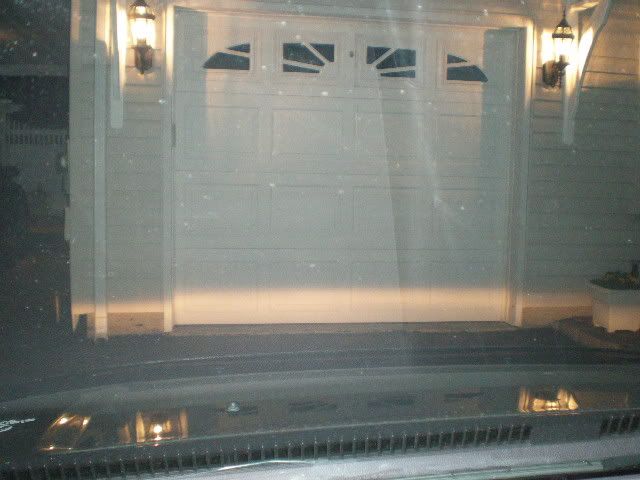
**If you live in NY state (and any other state that may have this law), you must have your headlights when your windshield wipers are engaged (when it's raining). If you have HID's, you may want to do this mod to prevent reducing the life of your $100+ bulbs and burn out your fog lights instead. They are theoritically a legal replacement for having your headlights on since it is legal to have daytime running lights through your fog lights. To date, I have not been pulled over or cited for the ~8 months I have had it done. - Please refer to the "Turn Signal Mod" thread for a how-to manipulate the side marker lights to double function as a turn signal.
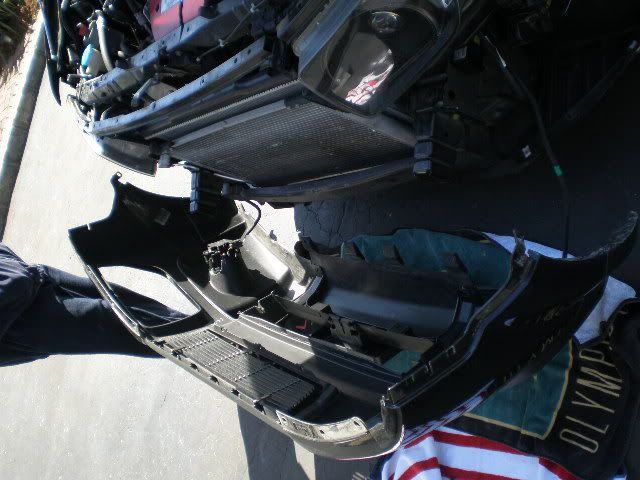
- Full details on removing the front bumper can be found here: http://www.red-tail.net/e/grill/ (cited later on)
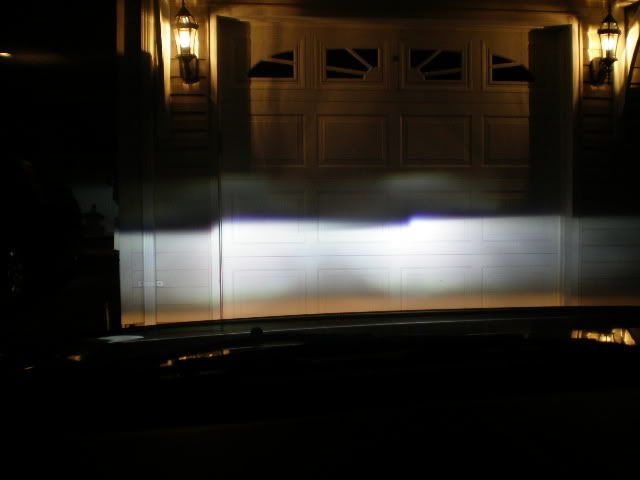
- Details about headlight adjustment (cited later on) http://faqlight.carpassion.info/hl-aiming.htm and http://www.danielsternlighting.com/tech/aim/aim.html
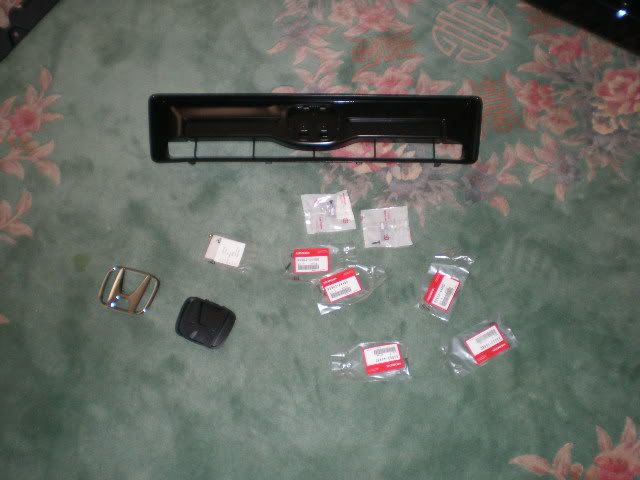
Parts List:
Not obtainable from Majestic Honda Shipped:
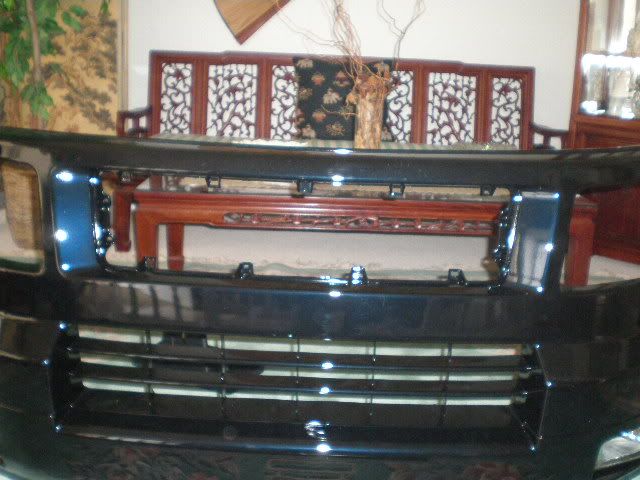
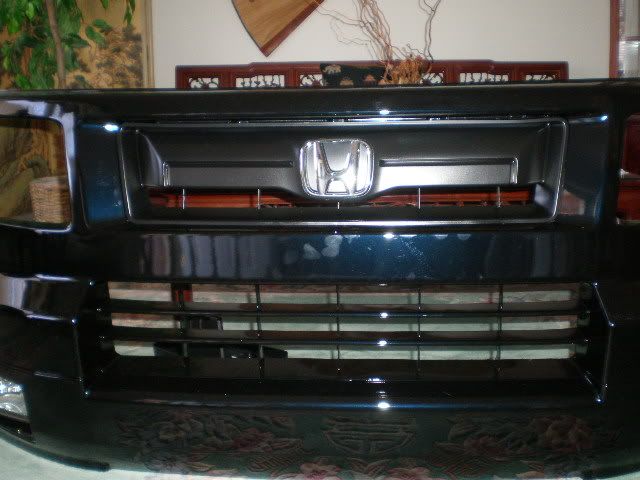
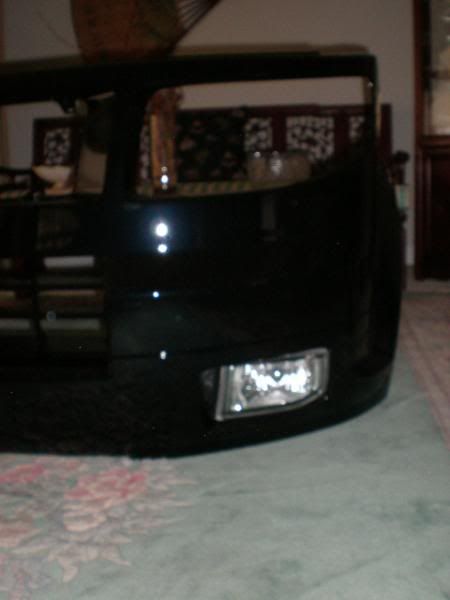
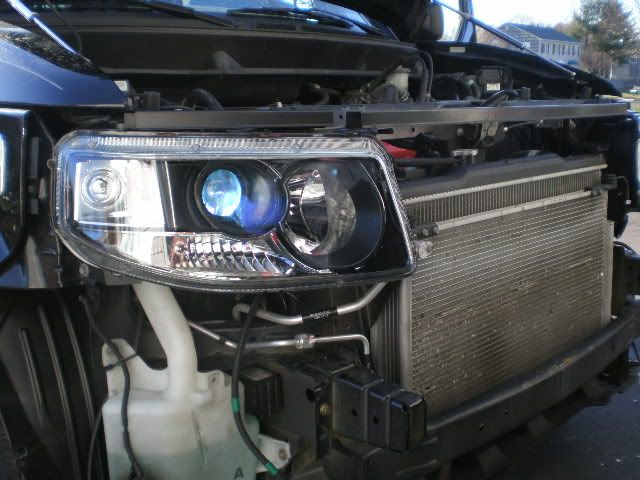
- 07/08 Element SC Front Upper Bumper
- 07/08 Element SC Front Lower Bumper
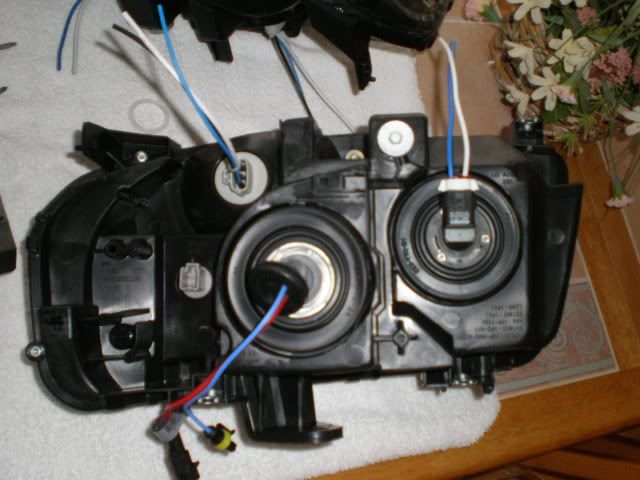
- H11 Bulb Connectors (Low beam, not required for HID's)
- 9005 Connectors (High Beam)
- T25/3156 Bulb Sockets (Turn signals, obtain from autolumination.com)
- 9006 Connectors (Fog Lights, optional since it comes with the kit)
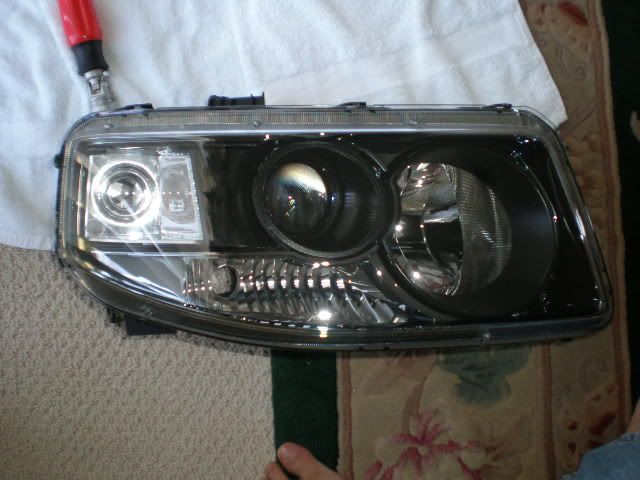
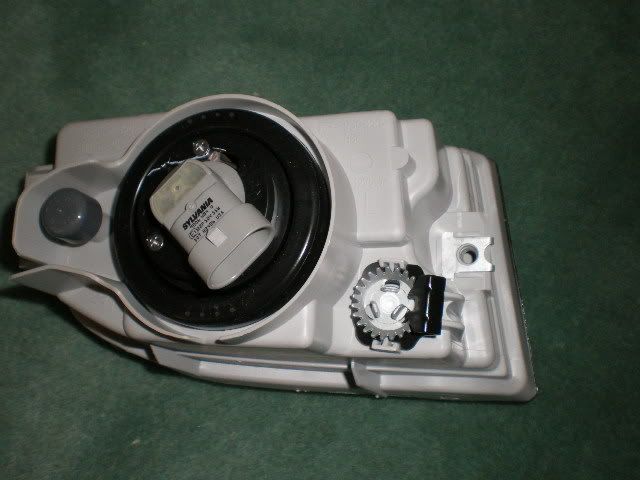
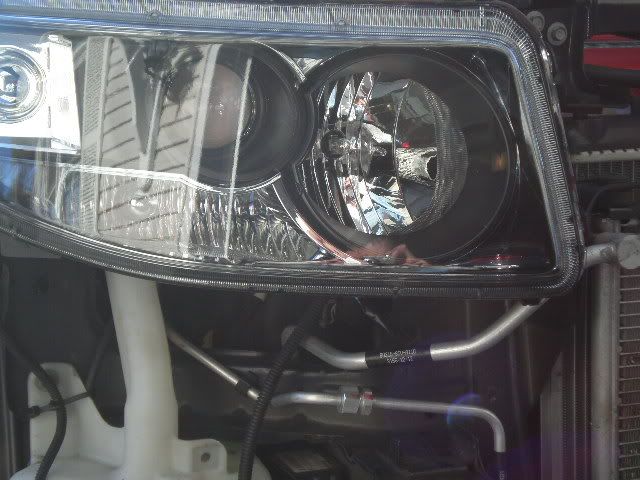
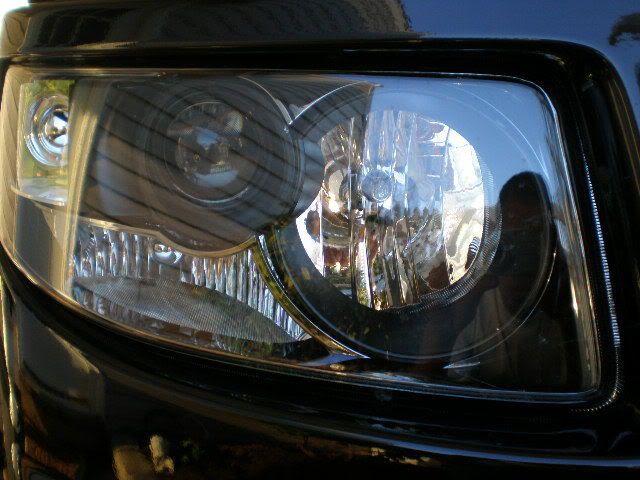
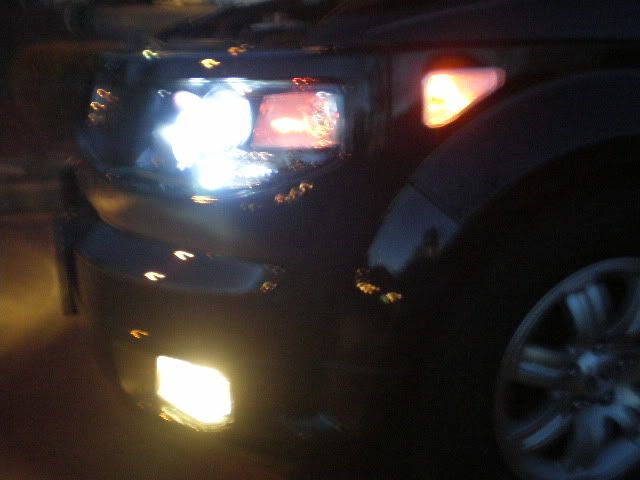
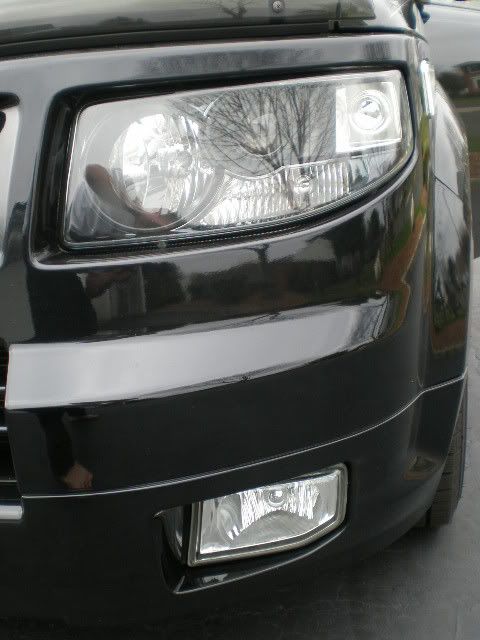
- H11 bulbs (Low beam). Optionally use an HID kit with the projector for brighter more intense light output (see below).
- 9005 bulbs. I do not recommend at all that you use HID's for the high beams. Halogens are also required if you want daytime running lights.
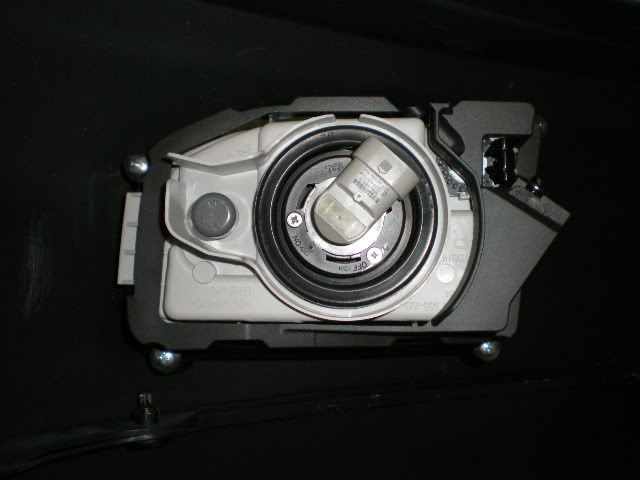
- 194 bulbs (parking light) - if you are not clearing the headlights, clear or amber will do. If you are clearing the headlights, optionally get amber, white, or whatever color you desire. Mirrored lens is not necessary at all.
- 3457NA Bulbs - these have an amber lens. Optionally get a clear (white) bulb. Recommended that you get a mirrored bulb since it is naturally exposed in the housing.
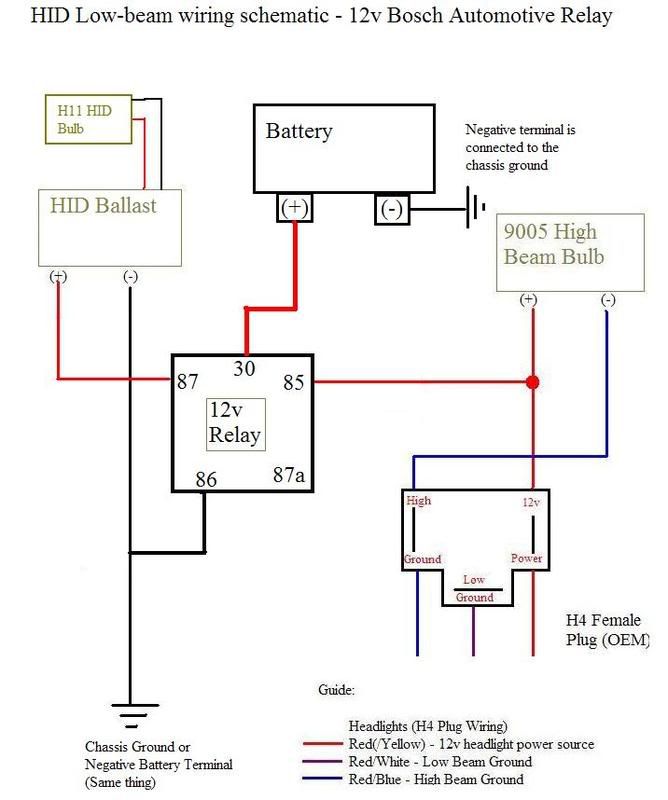
Optional HID Low Beams:
- H11 HID Kit (I Recommend 5000k color intensity, 4100k being OEM & brightest light output, blue tint). Comes with H11 bulbs, two ballasts (power source/control).
- Good experience with McCulloch Kits.
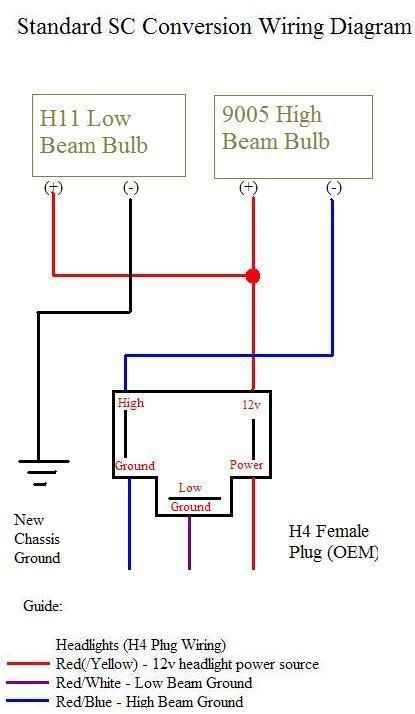
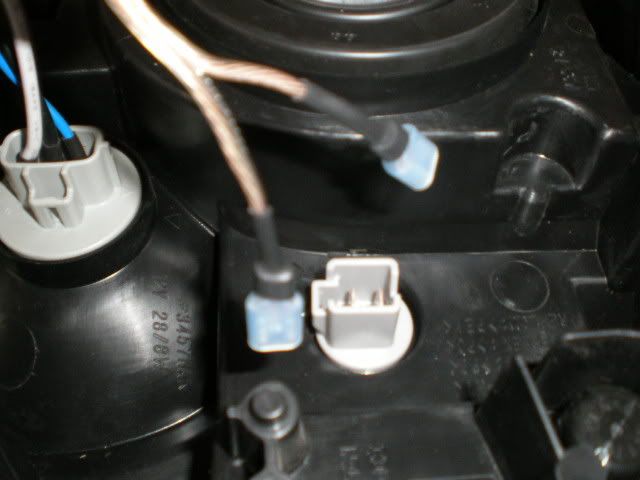
- Wiring harness not required, but HIGHLY recommended for all HID products. For more information please sign up and read the forums at www.hidplanet.com. With out a wiring harness, you risk blowing a headlight fuse and causing permanent damage to your factory wiring.
- Wiring Harness Parts: (see below for information, consider wiring choices before placing part orders)
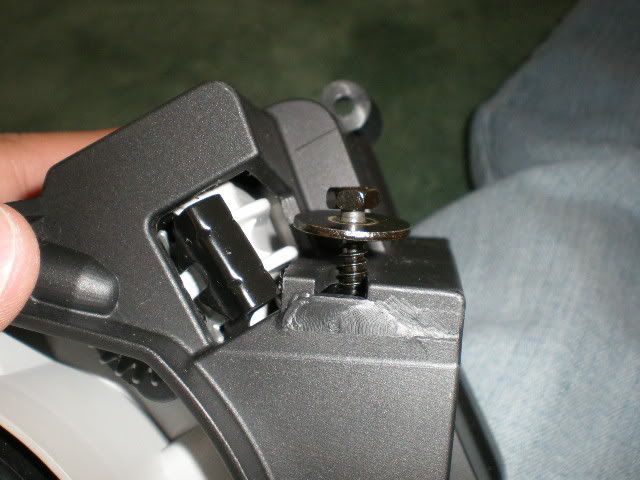
Do not get LED products for your turn signals unless you prepare your car for them. The turn signals require a new relay or a resistor integration in order to obtain normal function. Parking lights will work with LED's but they are pointless for these headlights.
Majestic Honda Parts order: (http://www.hondaautomotiveparts.com) - discounted OEM parts, can't go wrong.

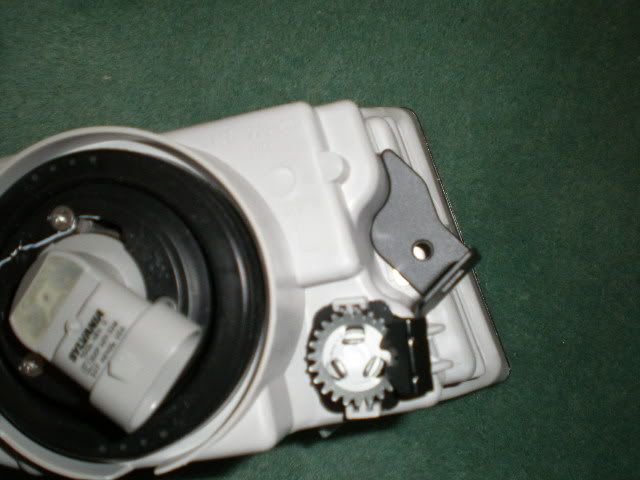
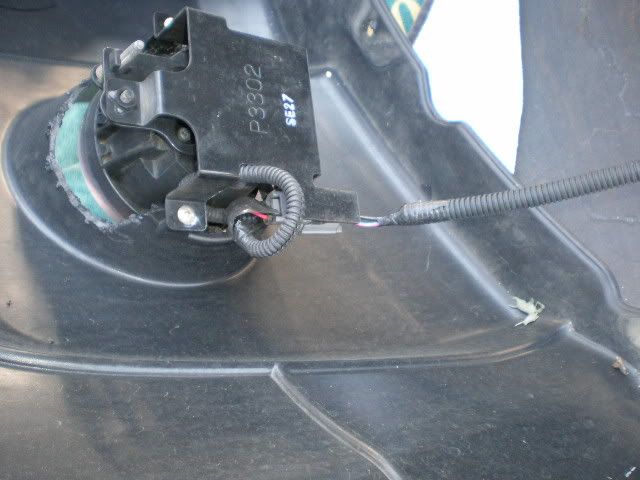
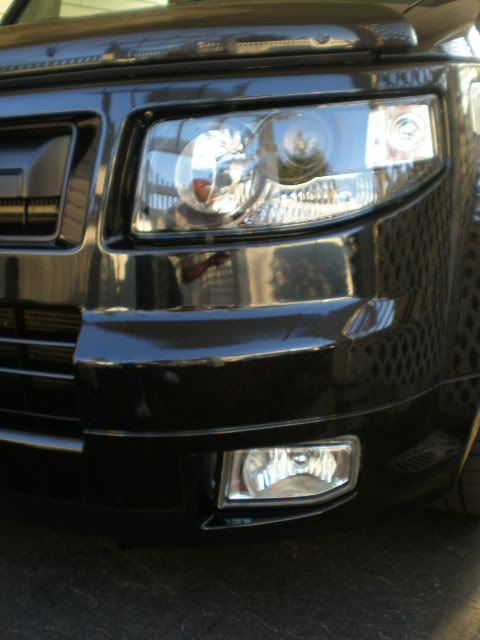
**The SC Foglight Kit is non-optional. The mounting brackets are not available for separate purchase (clever salespeople) so you will have to purchase the whole thing for the conversion.
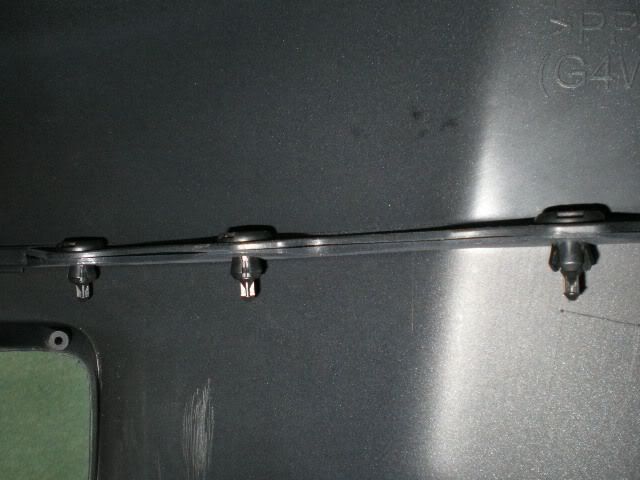
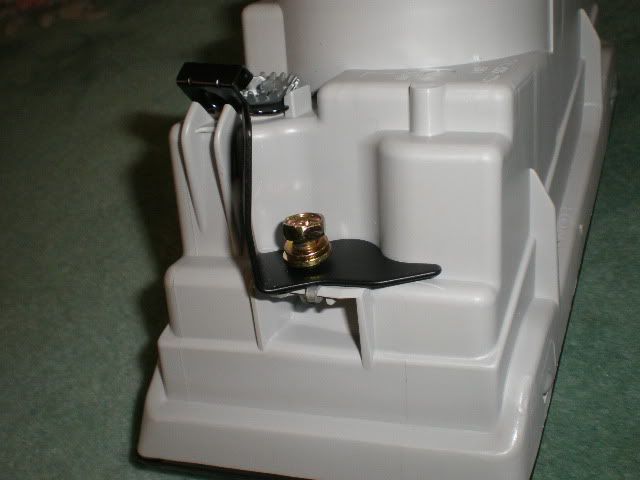
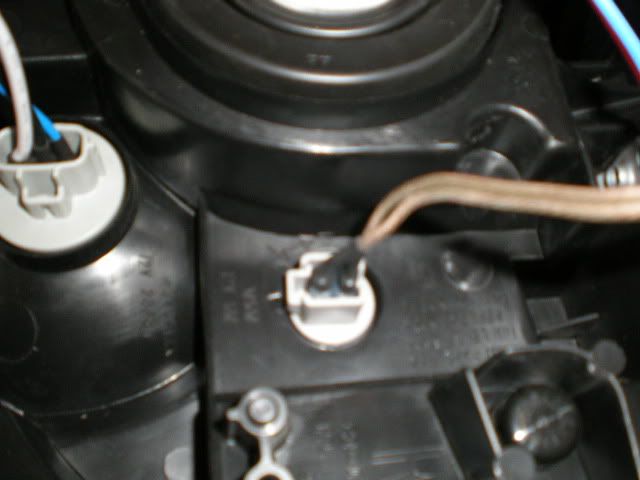
**INSTALLATION NOTE for 03-06 Model Years** The SC lower right headlight bracket will not bolt right on due to the shape of the oil cooler line that runs below the headlight. It was changed in 07/08 to accommodate the SC light bracket. You can opt to leave it off if you wish. It was not included in the parts list above and are Majestic part numbers 2746979 and 2747013. The left side will not encounter any problems.
Things that will be recycled:
- Bunch of bolts & screws
- Bumper Clips
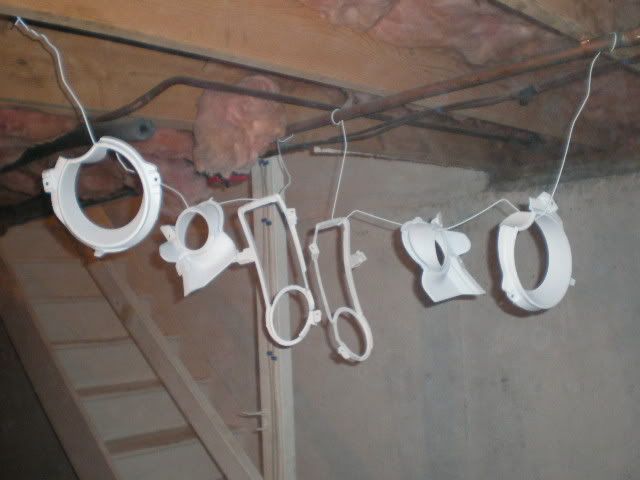
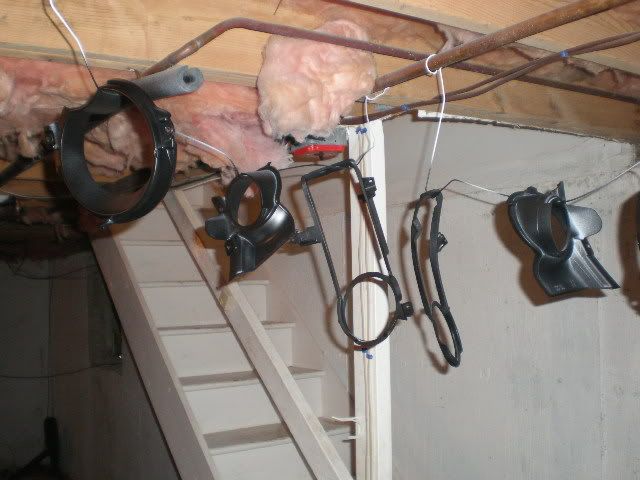
- Headlight brackets
- Old Fog Light wiring harness & switch (if you have one present).
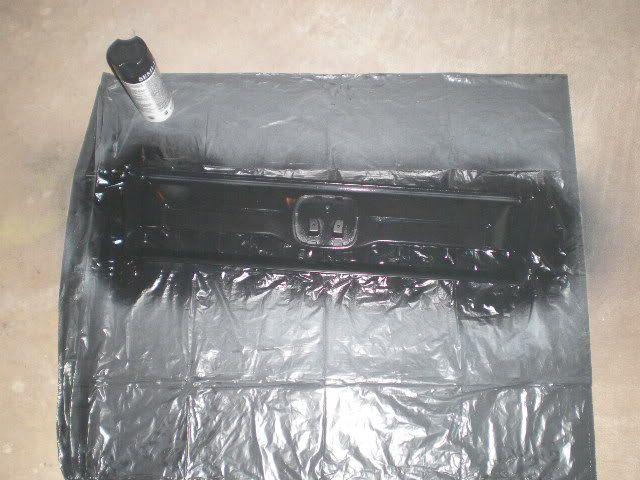
Painting Notes:
If you are going to paint anything, I would advise you do the following:
- Leave yourself 2 days before your intended assembly day to paint and dry
- If you are going to paint the bumper pieces, be careful putting on the center grille afterwards
- If you are using a primer, let that dry for 24 hours before you begin painting with your desired color(s)
- Use a clear coat on everything
- DO NOT HANDLE ANYTHING FOR 24 HOURS AFTER PAINTING
Total parts and labor costs: (all approximate, rounded)
$415 Bumper Pieces
$700 Majestic Parts
$250 Complete HID Kit
$500 Professional Paint Job
$50 HID Low beam / DRL Wiring Harness (DIY)
$100 Random other things (paint, electrical components, bulbs, misc. parts)
Total General Approximate Mostly DIY Conversion Cost: $2000
Holy @#$%^& when the hell did it double in approximate cost?? >.<
Cut out the HID's and the paint job and you'll be down to a nice 1200 which seems more reasonable.